Showing posts with label sewing machine. Show all posts

Thursday, August 2, 2012

DIY Shorts Project!

So I've been on the search for high waisted cuffed shorts ALL summer.

That even sounds like an understatement.. Every time Ben and I passed Levi's on Newbury, I would check for shorts. I searched and searched and searched websites who sold Wildfox, trying to find the Jane Fonda shorts discounted (seriously they're perfect ahhh but I couldn't bring myself to pay 139 bucks for shorts... I did find them cheaper on a site, but they didn't have my size! >.<) Every single clothing store we went to that MIGHT have these shorts, I double and triple checked, and no luck.

This meant DIY!!!!

We have a HUGE Good Will near our apartment, and it's a favorite spot of mine. There are racks and racks of jeans. I just had to find the perfect pair. I was on the hunt and I found a pair of white Lucky Brand capris! They were size zero and in perfect condition and $6.99!!!! I tried them on and they fit perfect. I couldn't wait to cut them up!

Shout out to the sewing machine in the background :p


But they came out pretty good!!! I wanted them to be a bit longer because when you walk around a lot they ride up and they're just more comfortable a little longer.

Here's how I did it :

First I put them on. I didn't want to decide where to cut without seeing them on. Then I thought about how short (or long) I wanted them to be with the cuff. I was going to roll them up twice, So I added about two inches for each cuff. Then I drew a line with a pencil about half an inch longer than that.

Then I folded them in half (to make sure I cut each pant even) and cut across. Then I put them back on. The trick is, you could always keep cutting, but you can't make it longer. So then I cuffed them. I decided these were still too long and made a mark where to cut. I took them off, cut and put them back on. This time they were perfect! I had Ben make a line on the back of the shorts where the cuff ended so just incase they became unrolled, I still knew where to sew them.

I pinned them accordingly then went to sew!


The picture is a little difficult to see but it'll do. On the sides of the shorts, where the seem was showing, I decided is where I would sew. I flipped the seem the opposite way way and sewed right next to the factory stitching. I stitched and reverse stitched a few times. When I was done, I just flipped it back over! You couldn't even notice!

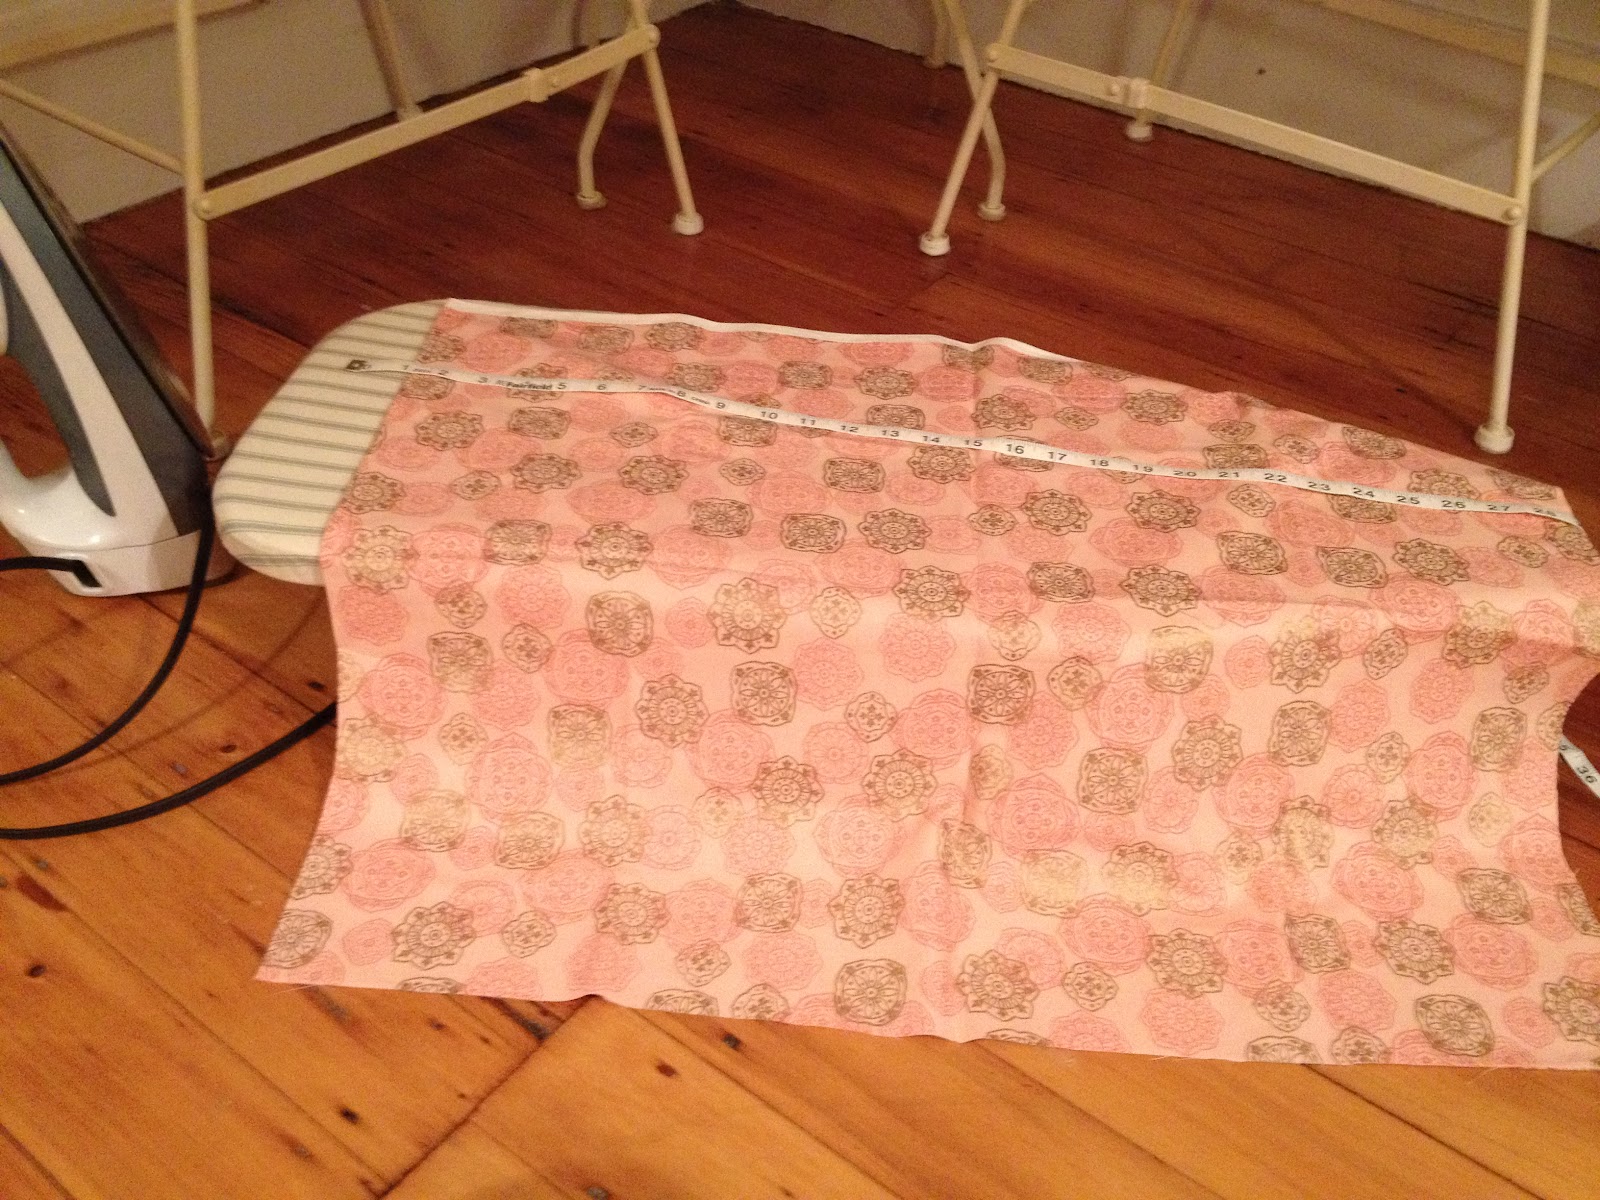
Next, I ironed them so they'd stay stiff and gain shape. I wasn't satisfied with how they were sewn, I felt that they wouldn't survive a wash. Then I decided to sew just a littttttle bit on the bottom of the cuff near the seem on the sizes and crotch of the shorts.


I stitched and reverse stitched from the seem to about an inch and a half out. This way it held the cuff where it'd get the most movement and since I sewed it on the bottom, you couldn't notice at all. It was perfect because the small stitch held the shape of the shorts and cuff and since it was sewn on the bottom, the top looked completely normal!

I love my new shorts! I can't wait to get a black pair and a light and dark wash jean. After I hair a pair of each, I'll probably do some fun stuff like adding fabrics and other things to my shorts :) yay!

Monday, July 16, 2012

I made my sister's dress!!

Yes!! Saturday I was super productive and made my sister's maxi dress. When I went to the fabric store on Friday, I forgot to buy a zipper for the dress (of course) so after I cut my fabric and had it all ready to go, I walked to Chinatown to get my zippers. On the way I stopped at Boloco for a Mango Passion Smoothie. It was so delicious and perfect to beat the heat.

I didn't completely finish the dress, it still needs to be hemmed and I need to adjust the zipper a bit and had a hook and eye.

I had so much fun making it and felt so good after I finally finished.


So happy with how it came out! Of course there's a few rough areas, but they'll only improve and go away as my skills improve. But for my first garment, I'm pretty proud of myself. I strayed from the pattern a little bit but I like how it came out.

Monday, July 9, 2012

Two things...

So I want to add some features to my blog. I'm really treating this as an online diary, as well as a documentation of my projects and life.

One . I love Instagram. It's probably my favorite iPhone App. I think I'm going to start doing a weekly Instagram post where I share all my uploads from Insta from the week. This will make me take more pictures and therefore have more pictures for me to look back on and scrapbook.

Two . Since I've gone to college, had limited money, and gotten older, my style has changed with me. Or more so, matured with me. I love that I thrift so often now and that I'm sewing my own clothes. Every season I get rid of more and more of my old high school clothes in trade for nicer and more professional clothes. I think I'm going to start doing a what-I-wore feature. I'm proud of my more money conscience wardrobe and my more rounded style. I'm trading short shorts for longer skirts and more decent dresses. I'm only going on 21, but the clothes in my pass are rarely going to make appearances in my future.

I want to do these things!

I really have been sewing in all of my free time. I guess I'm realizing with work and maintaining our home, I can't move as quickly along as I wanted.

But I have a serious goal! I want to send my sister's package out by the end of the week. That means I have to go to the fabric store and get material for her maxi dress and sew it and also get things for dan and ahhh! But her birthday is July 28th, and it takes packages awhile to get from here to there so it's crunch time. Maybe I could sneak out to Chinatown during lunch this week and go to the fabric store. I have to do this! The dress is the last piece to the package.

But now that I have a better grasp on my schedule and a better concept of the time sewing projects take, I could make more realistic goals for myself. It's all about trial and error, my friends. And I'm not gonna lie, whenever I make goals they do just sit in my head until I get around to them. So this week I'm gettin busy!

Monday, July 2, 2012

How To : DIY Wrap Skirt


Yes! I finally sat down and made my sister's skirt, and documented all the steps to 1. have as a reference, and 2. to share with whomever is reading this :) I mentioned this photo in another post promising to post a little how-to, and here it is!

I hope the directions are clear and understandable! Of course, if you'd like to make the skirt and you're unsure of a step, just ask in a comment or send me an email and I'll be glad to answer any questions! and if you do use this, and post it in your blog or something, please link and credit me. Thank you.

SO!

Step 1 and 2. Cut your skirt and ties


First, you're going to cut your fabric. The skirt part should be cut at 54" by 19". Next, you have to cut fabric for your two ties. The ties should be cut at 27" by 3".

Step 3. Make friends with the iron


**A tip for pinning : When you pin, always picture how the material is going to fed through your machine. The bulk of your material will always be on the left when going through the machine, so when you pin, hold the material how it will be sewn and put the pins in with the heads facing you. This way, the pins are easy to grab and remove as you sew your fabric.

Now you're going to iron and pin your straps. Begin by folding a side of the fabric halfway in towards the middle, then iron. Do to the same to the other side. Then you're going to fold the fabric in half again, then iron and pin to stay in place. You could turn off the iron, for now.

Step 4. Folding and pinning darts


This is probably the trickiest part of the whole skirt, but it's still pretty easy. The darts are what give this simple wrap skirt some shape.

First measure in 20" from the end of your skirt. Fold over a piece of fabric 3/4"

Pin where your dart is to start (the white pin head) then, you're going to measure down 5". At 5" down, you're going to pinch the fabric and pin it at the end. You're going to sew this on an angle, so at the end of the 5", you're just going to sew off the fabric (The dart is marked where it'll end by the red pin, but you would sew to the end of the pin, that's why it's angled. I post pictures of it sewn a couple of steps down if you're still confused!)


Now you're going to measure 2" over from the first dart. This time, your dart is only going to be 1/2" wide and 4" down.


Measure 3" across and do the same to the other side. The inside darts are 1/2" wide and 4" deep while the outside darts are 3/4" wide and 5" deep.

Step 5. Whip the iron back out


Now you're going to iron and pin all your hems. You're going to use the same method as folding an ironing the straps. Fold over the edge first to keep it in place, iron. Then fold over the edge again, and iron. Then pin. First, do the sides of the skirt, then the bottom, saving the top with the darts for last. After you have all your hems in place, you could put away your iron.


Both ironing and pinning really help me. Maybe because I'm a beginner, but whatever. It helps set the material that's to be sewn (this is extremely helpful for when you actually sew the darts) and I'm a visual learner, so I like to see how to piece is supposed to look, and it gives you the opportunity to notice if you're doing something wrong, rather than just fold over the edge and put it through the machine. But you should especially pin where the ends of your skirt meet (like the red pin in the corner of the second picture) to assure you keep all ends in place when you sew your skirt.

Step 6. Time to sew the darts


Since you ironed all your hems, everything should more or less stay in place. To sew your dart, take out the pin near the hem. (This picture was taken after I sewed my darts, but I thought it'd do more good as the first picture rather than last)


I edited the two bottom pictures just so you could see the thread easier. It's not the best, but trust me, it's better than how it was before. After you sew the dart, you could just tie off the thread and cut. Do this for the rest of your darts.


After you sew your darts, fold your hem back over. 

Step 7. Sew the hem

Now you're going to sew first, the sides and second, the bottom of your skirt. 

Step 8. Sew the ties


Time to sew the ties. Simply sew them along the side. BUT! Only finish ONE end of the ties. To finish, fold over one of the ends. Then sew the flap down to the inside. Make sure you when you sew, you reverse stitch a couple of times. Remember, you'll be pulling these ties to tie the skirt, so they'll be getting a lot of pull and use. You don't want them to rip.

Step 9. Attach ties to skirt


This is why you save the top of the skirt last to sew and why you only finish one end of the ties. Take out the pin securing the top hem to the side hem. Then unfold the side once. Place the unfinished end of your tie here, then fold over.

And sew in place! Again, remember to reverse stitch when you attach the ties.

You finished the skirt! Yay!!!!


Monday, June 25, 2012

The Sewing Has Commenced!

Such a great weekend so far and it's not even over! I'm being productive and also spending quality time with friends and family.

So hmmm!!! What could this be?!?!


The sewing adventures have started! My little station is all set up in my room...


Thanks to Ben's Dad, Bruno, he got me a desk to set up my sewing machine (we only have high tables and chairs in our apartment for some reason) I can't wait to personalize this space and making it my own. I want to get a floor lamp so I can maximize the space on my desk. I also want to make a backboard so you don't see the white wall or wires behind. Yay! Summer Project right there! :)

I also got some fabrics! I absolutely fell in love with these two prints. I could of gone crazy with prints, but I also wanted a solid color to make everyday tanks and stuff like that... so my fabrics..


AHHH!!! the first fabric, the pink one, is going to be a pair of flow-y shorts and a summer dress. The mint green is to be tanks and other things and the last fabric is for a pair of a more fitted short. They're from the same pattern so if I could do one, I should be able to do the other.

I got a girl children's top and romper pattern for a dollar at the store. Laurie and I thought it would be good to read a pattern and adjust its size on something I don't care about. Thankfully I'm pretty small so we didn't have to adjust a child's size 6 that much (only had to add 2 1/4 inches to the width of the pattern) It's more of just a practice run I did on Laurie's old fabrics she doesn't need. She brought me a bag full of scraps to mess around like that and she also brought me a bunch of squares and fabrics to learn how to quilt and to try and make my own.

So far, it's frustrating. Once I get down the technique of holding the fabric, pinning, ironing and overall just how to handle the fabric, I feel like I'll be unstoppable with sewing. Right now I just take a lot of "breaks" because I get a little aggravated with myself when I just can't get a step right or when I just can't get the fabric to feel comfortable in my hands. But, every time I start on my new step and sew the next piece, it comes out better than the last. Sewing is the easy part. The hard part is everything else. I can't wait until it becomes natural to me so I can bust out some work.

Today Ben and I are going to a friend's graduation party. After that, it's sewing time! Hopefully I could get another post in today about my progress :)

Yay! Take Care.

xx V